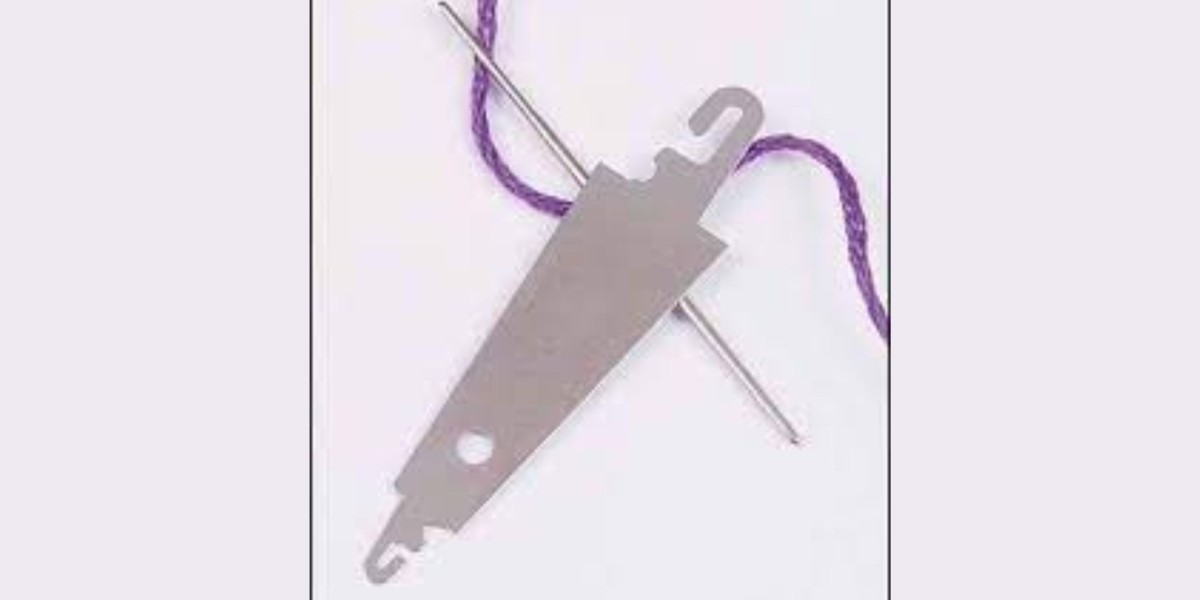
Cable knitting may seem complex, but with a bit of practice and the right tools—like cable knitting needles—you’ll be able to create beautiful, textured designs. In this article, let’s guide you through the basics of cable knitting, using simple explanations to help you master the technique.
What Are Cable Knitting Needles?
Cable knitting needles are small, specially designed needles that help knitters create cables. They are typically shorter than standard knitting needles and have a slight curve in the middle to hold stitches temporarily. This curve allows the knitter to twist stitches, which is the essence of creating cables. The best part? Cable knitting needles come in various sizes and materials, so you can find the perfect one to suit your knitting needs.
In Canada, many knitters rely on their favorite tools to achieve beautiful projects. If you're shopping for quality knitting supplies, sewing needles in Canada are also essential, and you can often find cable knitting needles in the same stores or online shops.
Basic Cable Knitting Techniques
Before diving into more complex patterns, it’s crucial to get comfortable with the basics of cable knitting. Here’s a step-by-step explanation of two foundational techniques that will help you master cables:
1. The Simple 2x2 Cable
The most common type of cable you’ll encounter is a 2x2 cable, which means you’re crossing two stitches over two others. Here’s how you can knit a basic 2x2 cable:
Step 1 - Knit until you reach the point where your pattern tells you to "cable." At this point, slip the next two stitches onto your cable knitting needle.
Step 2 - Let the cable needle hang either in front of or behind your work (your pattern will specify).
Step 3 - Knit the next two stitches from your left-hand needle.
Step 4 - Now, knit the two stitches from the cable needle.
By shifting the order of the stitches like this, you create a twist that results in a lovely cable pattern. With a little practice, you’ll soon find it becomes second nature.
2. Front and Back Crosses
There are two types of cable crossings: front and back. The placement of your cable knitting needle determines which one you’re making.
Front Cross - When your cable needle is held in front of your work, you’re making a front cross. This creates a left-slanting cable as the stitches you’re holding move to the front, and the stitches behind them appear to cross over from the right.
Back Cross - When your cable needle is held in the back, it’s a back cross, which results in a right-slanting cable. Here, the stitches at the front appear to cross over to the left.
These two crosses are the foundation of all cable designs, whether simple or complex.
Choosing the Right Cable Knitting Needle
The material and size of your cable knitting needle can impact the ease of your knitting experience. Cable needles are available in different materials, such as wood, plastic, or metal, and each has its advantages. Wooden and plastic needles are often less slippery, which helps keep stitches in place. Metal needles, on the other hand, offer speed and durability, especially for more experienced knitters.
Final Thoughts!
Cable knitting may seem intimidating at first, but with the right cable knitting needles and a bit of practice, it becomes an enjoyable and rewarding technique. Whether you’re making a cozy scarf or an intricate sweater, cables add texture and dimension to any project. Don’t be afraid to experiment with different needle materials and sizes to find what works best for you.
Remember, practice makes perfect. Start with simple cables and build your way up to more complex designs. Before long, you’ll be a master of the art of cable knitting!
Are you looking to start your next cable knitting project? Visit Blackbird Knitting & Needlework for all your knitting needs! Whether you're searching for high-quality cable knitting needles, luxurious yarns, or the perfect pattern, Blackbird Knitting & Needlework has everything you need to take your knitting skills to the next level. Shop now and get inspired to create something beautiful!


