This comprehensive checklist will guide you through each step of a stress-free bathroom renovation, ensuring a smooth and successful transformation.
Phase 1: Planning and Preparation
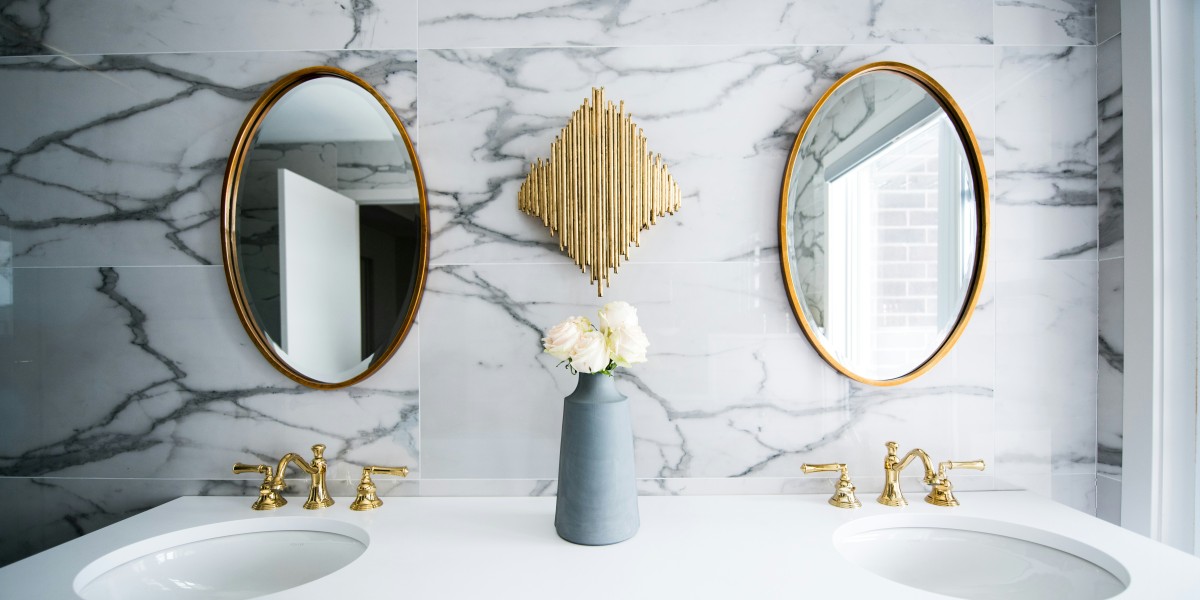
This initial phase is crucial for laying the groundwork for a successful renovation. Rushing into demolition without a solid plan can lead to costly mistakes and delays. Please call first Vancouver Remodelers https://www.bathroomremodelvancouverwa.com/.
- Define Your Needs and Goals: What do you want to achieve with your bathroom renovation? Do you need more storage, a larger shower, or simply a cosmetic refresh? Clearly defining your goals will help you stay focused throughout the process.
- Establish a Realistic Budget: Bathroom renovations can range significantly in cost. Setting a realistic budget early on is essential for making informed decisions about materials, fixtures, and labor. Research average costs in your area and factor in a contingency for unexpected expenses.
- Develop a Design Plan: Consider the layout, style, and functionality of your new bathroom. Sketch out different layouts and explore various design styles to find what works best for your space and preferences. Create a mood board with images of materials, fixtures, and décor that inspire you.
- Research and Select Materials: Choose materials that are durable, moisture-resistant, and aesthetically pleasing. Consider factors like cost, maintenance requirements, and availability. Explore different options for flooring, tiles, countertops, and fixtures.
- Hire Qualified Professionals: Unless you have extensive experience in plumbing, electrical work, and tiling, it's best to hire qualified professionals for these tasks. Research contractors, read reviews, and get multiple quotes before making a decision. Clear communication with your chosen professionals is vital.
- Create a Detailed Timeline: Develop a realistic timeline for each stage of the renovation, from demolition to finishing touches. This will help you stay on track and manage expectations.
Phase 2: Demolition and Rough-In
This phase involves removing the old bathroom fixtures and preparing the space for the new installation.
- Demolition: Carefully remove existing fixtures, tiles, flooring, and any other elements that will be replaced. Protect surrounding areas from dust and debris.
- Plumbing Rough-In: Relocate or install new plumbing lines for sinks, showers, toilets, and bathtubs. Ensure that all plumbing work is inspected and approved by local authorities.
- Electrical Rough-In: Upgrade or install new electrical wiring for lighting, outlets, and ventilation. Ensure that all electrical work complies with building codes.
- HVAC Rough-In: Adjust or install new ventilation systems to ensure proper airflow and prevent moisture buildup. Adequate ventilation is crucial in a bathroom environment.
- Framing (if necessary): Modify or build new walls or partitions as needed to accommodate the new layout.
Phase 3: Installation and Finishes
This phase is where your vision starts to come to life, with the installation of the chosen materials and fixtures.
- Inspections: Schedule necessary inspections for plumbing, electrical, and framing before moving on to the next stage.
- Tile Installation: Lay tile for flooring, shower walls, backsplashes, and any other tiled surfaces. This requires precise measurements and careful planning.
- Cabinetry Installation: Install vanities, cabinets, and other storage solutions. Ensure that they are level and securely attached.
- Countertop Installation: Install countertops made of your chosen material. This may require professional installation depending on the material.
- Fixture Installation: Install sinks, faucets, toilets, showers, bathtubs, and other plumbing fixtures.
- Lighting Installation: Install lighting fixtures, including recessed lighting, vanity lights, and decorative sconces. Consider the placement and type of lighting to create the desired ambiance.
- Painting: Paint the walls and ceiling with moisture-resistant paint. Choose colors that complement your overall design.
- Final Fixture and Trim Installation: Install any remaining fixtures, trim, and hardware.
Phase 4: Final Touches and Completion
This final phase involves adding the finishing touches that will complete your bathroom renovation.
- Cleaning: Thoroughly clean the entire bathroom to remove dust and debris.
- Accessory Installation: Install towel bars, toilet paper holders, and other bathroom accessories.
- Decorating: Add decorative items such as artwork, plants, and rugs to personalize the space.
- Final Walk-Through: Conduct a final walk-through with your contractor to ensure that everything is completed to your satisfaction.
Key Considerations for a Stress-Free Renovation
- Communication: Maintain open and consistent communication with your contractor and other professionals involved in the project.
- Flexibility: Be prepared for unexpected issues or delays. Renovations rarely go exactly according to plan.
- Organization: Keep all your documents, contracts, and receipts organized in one place.
- Patience: Renovations take time. Be patient and avoid rushing the process.
Budget Breakdown Example
| Item | Estimated Cost Range |
|---|---|
| Demolition | $500 - $1,500 |
| Plumbing Rough-In | $1,000 - $3,000 |
| Electrical Rough-In | $800 - $2,000 |
| Tile and Installation | $1,500 - $5,000 |
| Cabinetry | $1,000 - $5,000+ |
| Countertops | $500 - $3,000+ |
| Fixtures (sink, toilet, etc.) | $500 - $2,000 |
| Lighting | $300 - $1,500 |
| Painting | $200 - $800 |
| Labor | $2,000 - $8,000+ |
Note: These are estimated cost ranges and can vary depending on location, materials, and the complexity of the project.
Tips for Staying on Budget
- Set a realistic budget and stick to it.
- Prioritize your spending.
- Shop around for the best deals on materials and fixtures.
- Consider DIYing some tasks, if you are skilled.
- Get multiple quotes from contractors.
By following this ultimate checklist and carefully planning each stage of your bathroom renovation, you can minimize stress and create the bathroom of your dreams. Remember, thorough preparation and clear communication are key to a successful and stress-free experience.