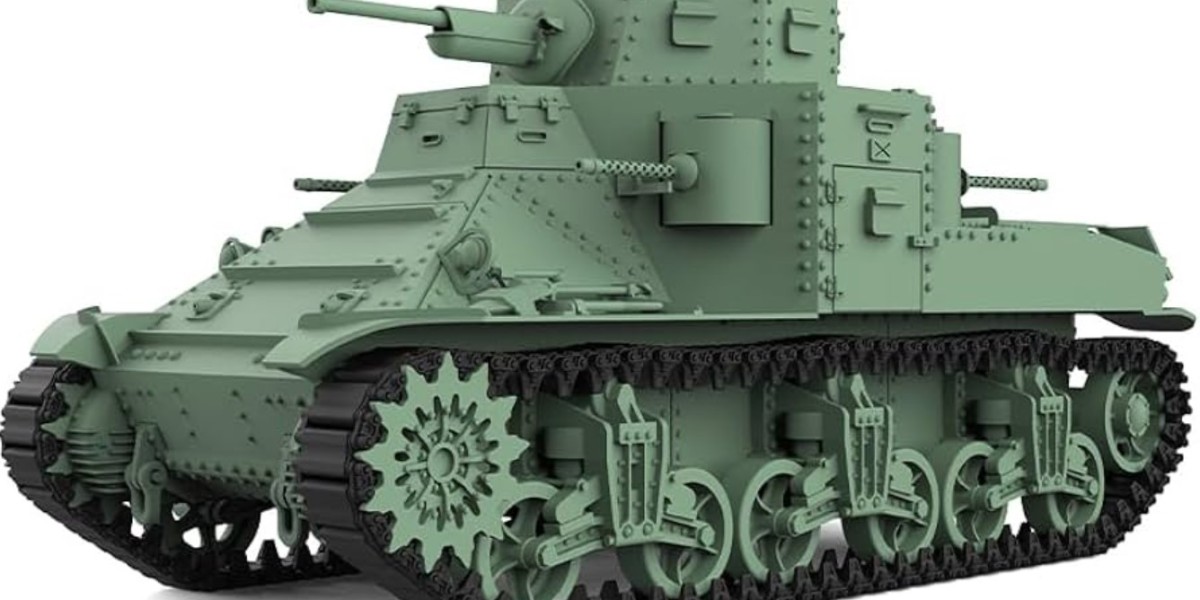
For military modelers, one of the most rewarding aspects of building tanks is adding the fine details and realistic wear that make them look battle-hardened. Weathering and detailing bring your model tank to life, transforming it from a pristine assembly to a vehicle that looks like it's just rolled off a battlefield. Mastering these techniques can take your model from good to truly stunning. In this guide, we’ll break down everything you need to know about weathering and detailing model tanks to achieve authentic results.
1. Why Weathering and Detailing Matter
A freshly built model can look clean and impressive, but model tanks were never spotless. Adding weathering effects such as dirt, rust, and grime gives the model a sense of history, as though it's been through real combat. Detailing, on the other hand, focuses on highlighting the smaller features—like tools, bolts, and hatches—that make your model look realistic. Together, these techniques elevate your model from a clean kit to a dynamic replica.
Benefits of Weathering:
- Creates realism by simulating real-world conditions
- Highlights the history and environment of the tank
- Adds personality and uniqueness to your build
2. Tools and Materials You’ll Need
Before diving into weathering, it’s important to gather the right tools and materials. Here’s what you’ll need to start:
- Weathering powders (for dust, dirt, and rust effects)
- Oil paints (to create streaks, stains, and subtle shadows)
- Acrylic paints (for base colors and details)
- Detail brushes (small, fine brushes for precision work)
- Dry brushing brushes (for metal wear and highlights)
- Pastels and pigments (to create weathered surfaces and rust)
- Sponges (for chipping effects)
- Gloss and matte varnishes (for sealing and protecting your work)
Pro Tip:
Keep a small mixing palette and a variety of brush sizes on hand for easy access and control over your detailing.
3. Prepping Your Tank for Weathering
Before you start adding weathering effects, make sure your model is fully painted and sealed. Applying a clear gloss coat helps the weathering effects adhere better, particularly when using oil washes or decals. It also protects your underlying paint job from being damaged during the process.
Steps to Prep:
- Paint your tank with the desired base colors.
- Apply decals and markings where necessary.
- Seal the entire model with a clear gloss coat to protect it.
4. Techniques for Weathering Your Model Tank
A. Washing
Washing is one of the most basic and essential weathering techniques. It involves applying a thin mixture of paint and solvent (usually oil paints thinned with mineral spirits) to the model’s surface to highlight panel lines, details, and recessed areas. The wash settles into crevices and creates a natural shadow effect.
How to Wash:
- Mix your oil paint with a solvent to create a thin wash.
- Use a fine brush to apply the wash over the model’s details.
- Let the wash settle in the recesses, then wipe off the excess with a clean cloth or cotton swab.
B. Dry Brushing
Dry brushing is used to highlight raised surfaces and edges, simulating worn paint and metal. This is particularly effective for areas like the edges of armor plates or tracks. You can use metallic paints or light grays to create a worn effect.
How to Dry Brush:
- Dip a stiff brush lightly in paint, then wipe most of it off on a paper towel.
- Lightly drag the brush over the raised surfaces of the model, leaving subtle highlights.
- Repeat the process until the desired effect is achieved.
C. Chipping
Chipping is used to recreate areas where paint has worn away, exposing the metal beneath. You can create chips by using a sponge or fine brush to dab dark gray or metallic paint onto edges, hatches, and high-contact areas.
How to Create Chips:
- Use a sponge dipped in dark gray or metallic paint.
- Lightly dab the sponge on areas where paint would realistically chip (corners, edges, hatches).
- For smaller chips, use a fine brush to apply the paint in a more controlled manner.
D. Rust and Streaking
Tanks, especially those that have been exposed to the elements, develop rust and streaks over time. You can use oil paints or weathering pigments to create these effects.
How to Apply Rust and Streaks:
- Use oil paints (such as burnt sienna or umber) to create rust spots.
- Apply small dots of paint where rust would form, then drag the paint down with a clean brush to create streaks.
- Use pigments or pastels to add a rusty texture, blending them into the surface with a brush.
5. Detailing the Small Features
Now that your tank has been weathered, it’s time to focus on the smaller details, such as tools, antennas, and extra equipment. These small parts add to the realism of your model.
Painting Tools and Accessories:
- Use a fine brush to carefully paint tools like shovels, jerry cans, or spare tracks.
- Apply a metallic paint to simulate worn metal on these items.
- Don’t forget to weather them too! Tools often accumulate dirt and rust just like the tank itself.
6. Working with Decals
Decals are an important part of detailing military models, representing unit markings, tactical numbers, or insignias. Applying decals can be tricky, especially after weathering. Make sure to place decals before adding too many weathering layers to avoid obscuring them.
How to Apply Decals:
- Soak the decal in water until it slides off the backing paper.
- Position it on the model using a pair of tweezers.
- Use a decal softener to ensure it conforms to the surface.
- Seal the decal with a gloss coat to protect it, then weather over it lightly to blend it in.
7. Sealing Your Work
After spending so much time adding weathering effects and details, you’ll want to seal everything in with a protective coat. Depending on the look you're going for, you can use either a gloss finish for a clean, polished look or a matte finish for a more realistic, battle-worn appearance.
When to Use Matte vs. Gloss:
- Matte finish: Ideal for a realistic, worn look.
- Gloss finish: Works well if you want a cleaner, slightly shiny appearance for new or well-maintained vehicles.
8. Practice Makes Perfect
Don’t be discouraged if your first attempts at weathering or detailing don’t turn out perfect. These techniques take time and practice to master, and the more you experiment, the better you’ll get at creating realistic effects. Always keep reference photos of real tanks handy to guide your weathering process.
Conclusion
Mastering the art of weathering and detailing model tanks is an essential skill for anyone looking to take their model-building to the next level. These techniques add realism and depth to your builds, making them look like they've seen action on the battlefield. With the right tools, patience, and practice, you can bring your models to life and create truly authentic representations of military history.
FAQs
- How do I prevent my wash from making my model too dark?
- Use a clear gloss coat before applying the wash to control how much it settles into the crevices.
- What’s the best technique for creating mud effects?
- Use weathering pigments mixed with a bit of water or acrylic paint to create a mud-like consistency and apply it to the lower parts of the tank.
- Can I use regular acrylic paints for weathering?
- Yes, acrylic paints can be used for some weathering effects, though oil paints and pigments often provide more natural-looking results.
- How do I get rust effects without making it look overdone?
- Less is more. Apply rust sparingly to areas that would realistically be exposed to the elements, such as exhausts, joints, and metal fittings.
- How do I clean my brushes after using oil paints?
- Use mineral spirits or turpentine to clean oil-based paints from your brushes, then wash them with soap and water to remove any residue.
Our Social Pages:
https://plastic-models-store.com/
https://www.facebook.com/plastic.models.store


