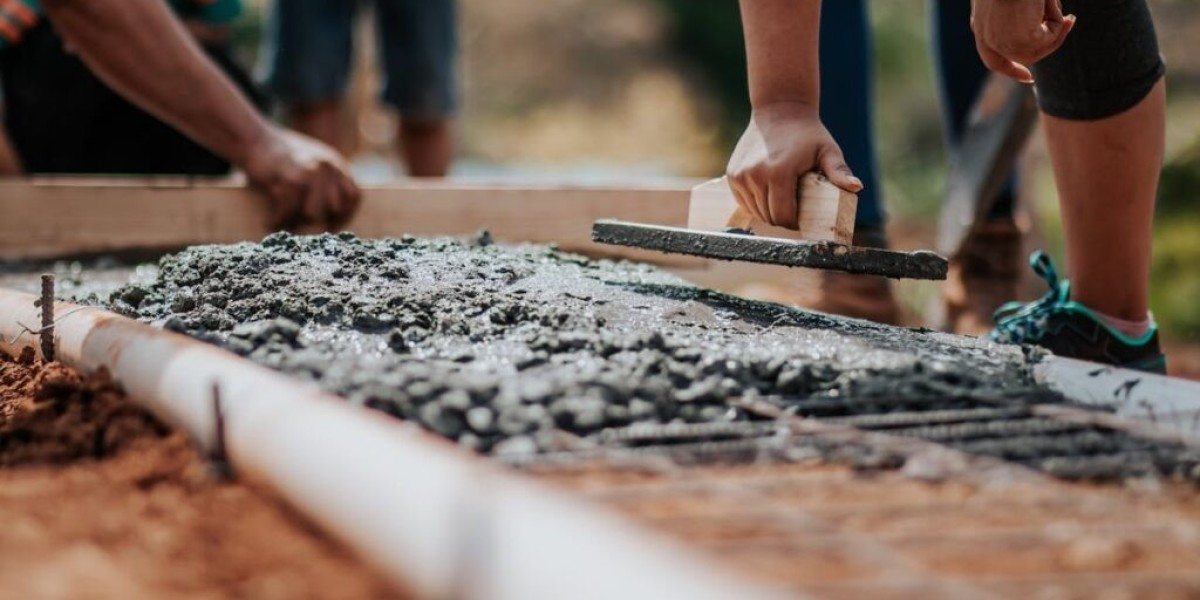
Maintaining a safe and attractive sidewalk is essential for any property. Cracks, chips, or uneven concrete can be unsightly and pose serious hazards. Fortunately, repairing your concrete sidewalk doesn’t have to involve costly contractors. With the right tools, materials, and guidance, you can perform the repair yourself. In this comprehensive guide, we’ll outline step-by-step instructions to ensure your concrete sidewalk repair is both durable and professional-looking.
Why Repair Your Concrete Sidewalk?
Cracked or damaged sidewalks aren’t just an eyesore—they can lead to potential injuries and even legal liabilities. Addressing sidewalk damage promptly:
- Prevents further deterioration.
- Enhances the aesthetic appeal of your property.
- Ensures compliance with local safety regulations.
- Saves money on larger repairs down the road.
Tools and Materials You’ll Need
Before starting, gather the following tools and materials to make your repair process seamless:
Tools:
- Chisel and hammer
- Trowel
- Putty knife
- Wire brush
- Level
- Wheelbarrow
- Shovel
- Caulking gun
Materials:
- Ready-mix concrete
- Concrete resurfacer
- Concrete bonding adhesive
- Backer rod (for wide cracks)
- Sand
- Sealant
Step-by-Step Instructions for Concrete Sidewalk Repair
Step 1: Assess the Damage
Inspect the sidewalk to determine the extent of the damage. Cracks less than 1/4 inch wide can usually be repaired with a concrete crack filler, while larger cracks or uneven surfaces may require resurfacing or replacement.
- Mark the damaged areas for easy reference.
- Check for underlying causes like tree roots or soil erosion.
Step 2: Clean the Area
A clean surface ensures proper adhesion of the repair material.
- Sweep away debris: Use a broom to clear dirt and dust.
- Scrub the cracks: Use a wire brush to remove loose concrete, grease, or other contaminants.
- Wash the area: Rinse the surface with water and allow it to dry completely.
Step 3: Prepare the Cracks
For small to medium cracks:
- Use a chisel and hammer to widen the crack slightly, creating a V-shape. This improves bonding.
- Remove dust and debris with a vacuum or compressed air.
For larger cracks:
- Insert a backer rod into the crack to reduce the amount of filler needed.
- Ensure the rod is level with the surface.
Step 4: Apply a Bonding Agent
A bonding adhesive helps the new material adhere to the existing concrete.
- Apply the adhesive directly to the damaged area using a brush or roller.
- Let it sit for the time specified on the product label.
Step 5: Mix and Apply Concrete or Filler
For Small Cracks:
- Use a pre-mixed concrete crack filler.
- Apply it directly into the crack using a caulking gun or putty knife.
- Smooth the surface with a trowel and allow it to cure.
For Larger Repairs:
- Mix ready-mix concrete in a wheelbarrow, following the manufacturer’s instructions.
- Pour the mixture into the damaged area, ensuring it fills completely.
- Level the surface using a trowel or straight edge.
Step 6: Resurface the Sidewalk (if needed)
If the surface is uneven or heavily deteriorated, resurfacing is the best option.
- Prepare a concrete resurfacer mixture.
- Pour the mixture over the sidewalk and spread it evenly using a squeegee or trowel.
- Work quickly, as resurfacer sets faster than regular concrete.
Step 7: Level and Smooth
Use a long level or straight edge to ensure the surface is even. Smooth any imperfections with a trowel before the concrete begins to set.
Step 8: Cure the Repair
Proper curing is critical for long-lasting repairs.
- Cover the repaired area with plastic sheeting or a damp cloth to retain moisture.
- Keep the surface moist for at least 48 hours.
- Avoid heavy traffic on the repaired section during the curing period.
Step 9: Seal the Surface
A concrete sealant protects against water, stains, and future cracks.
- Once the repair has fully cured (usually after 28 days), apply a concrete sealant with a roller or sprayer.
- Allow the sealant to dry completely before using the sidewalk.
Maintenance Tips for Longevity
To keep your sidewalk in optimal condition:
- Clean it regularly to prevent dirt buildup.
- Seal it every few years to protect against moisture.
- Address small cracks promptly before they widen.
- Monitor the area for underlying issues like shifting soil.
Conclusion
Repairing your concrete sidewalk is an achievable DIY project that can save you money and enhance your property’s safety and aesthetics. By following these detailed step-by-step instructions, you’ll achieve a professional-grade repair that stands the test of time. Whether you’re fixing small cracks or resurfacing an entire section, preparation, precision, and patience are key to success.


