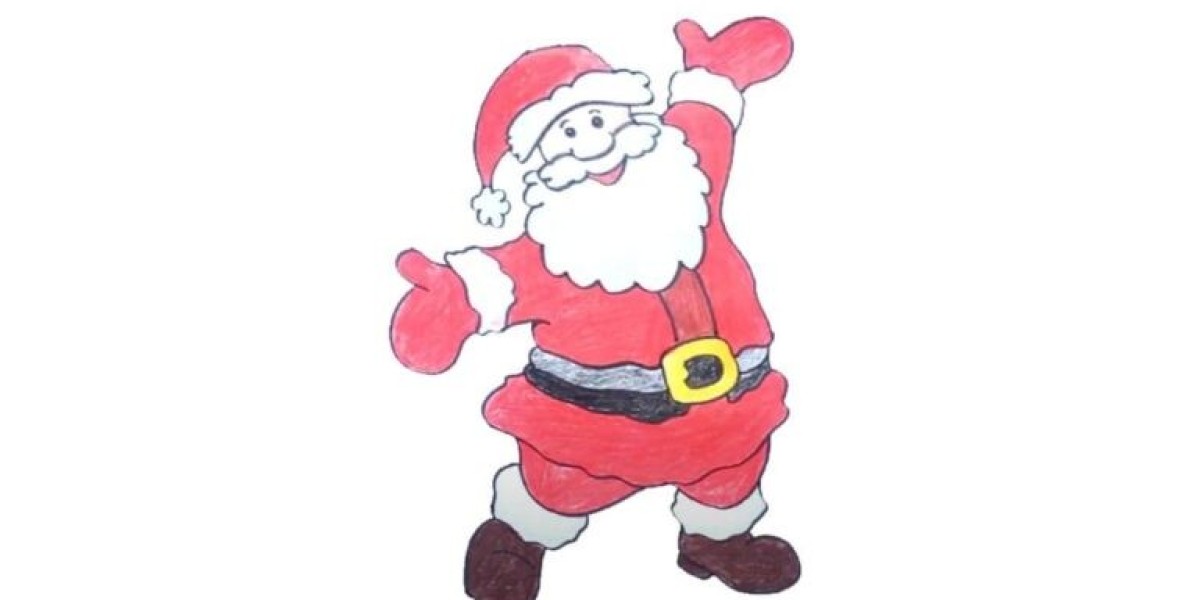
Drawing Santa Claus can be a fun and festive activity, perfect for the holiday season! With his jolly smile, fluffy beard, and iconic red suit, Santa is a beloved character that captures the spirit of Christmas. This step-by-step guide will walk you through the process of drawing Santa Claus, making it easy and enjoyable for artists of all skill levels.
Materials You’ll Need
- Paper
- Pencil
- Eraser
- Fine-tip pen or markers (optional, for outlining)
- Colored pencils or markers (optional, for coloring)
Step 1: Start with Basic Shapes
Begin by sketching the basic shapes to outline Santa’s head and body.
Example:
- Draw a large circle for Santa's head.
- Below the head, create an oval or rectangle for the body, making it wider at the bottom to represent his round belly.
Step 2: Outline the Face
Refine the shape of Santa’s face by adding the features. Draw a horizontal line across the center of the head for the placement of the eyes. Below this line, sketch two small circles for the eyes, a round nose just below them, and a wide, smiling mouth.
Tips:
- Make the eyes twinkle by leaving a small white spot in each for a reflection.
- For a classic Santa look, draw a rosy cheek by adding a small circle on each side of the face.
Step 3: Add the Hat
Santa's iconic hat is a key feature! Start by drawing a curved line that starts from one side of his head, arches over to the other side, and comes down to a point. The brim of the hat can be drawn as a wavy line along the bottom, and don't forget to add a fluffy pom-pom at the tip!
Example:
- Make the brim of the hat wider to emphasize its fluffiness.
Step 4: Draw the Beard
Santa’s bushy beard is one of his most recognizable features. Use wavy lines to create the outline of the beard, starting from the sides of the face and flowing down. You can add texture by drawing individual strands within the beard.
Tips:
- The beard should be fluffy and round, emphasizing Santa’s jolly nature.
Step 5: Define the Body and Clothes
Now it’s time to draw Santa’s outfit. Start with the arms by drawing two curved lines coming out from the shoulders. For his coat, draw a line that curves from one arm to the other, going over the belly. Add buttons down the front and fluffy cuffs at the ends of the sleeves.
Example:
- Make sure the coat is open in the middle to show his belly.
Step 6: Add Legs and Boots
For Santa's legs, draw two vertical lines coming down from the coat. Add large boots at the bottom, making them wide and rounded. You can also add fluffy cuffs to the tops of the boots.
Tips:
- Keep the proportions playful and exaggerated to capture Santa's whimsical nature.
Step 7: Outline Your Drawing
Once you’re satisfied with your sketch, go over it with a fine-tip pen or marker. This will help define your drawing and make it stand out.
Example:
- Carefully trace over your pencil lines, ensuring smooth curves and clean edges.
- Let the ink dry, then gently erase any remaining pencil lines.
Step 8: Color Your Santa Claus
To finish off your drawing, use colored pencils or markers to bring Santa to life. Traditional colors include bright red for the suit, white for the beard and hat, and black for the boots.
Tips:
- Use a light pink for his cheeks and a bright yellow or gold for his belt buckle.
- Experiment with shading to give depth and dimension to Santa’s outfit.
Conclusion
Drawing Santa Claus can be a joyful and creative way to celebrate the holiday season. By following these simple steps, you’ll create a delightful illustration of Santa that you can share with family and friends. Remember, practice makes perfect, so feel free to add your own unique touches to your Santa drawing.


